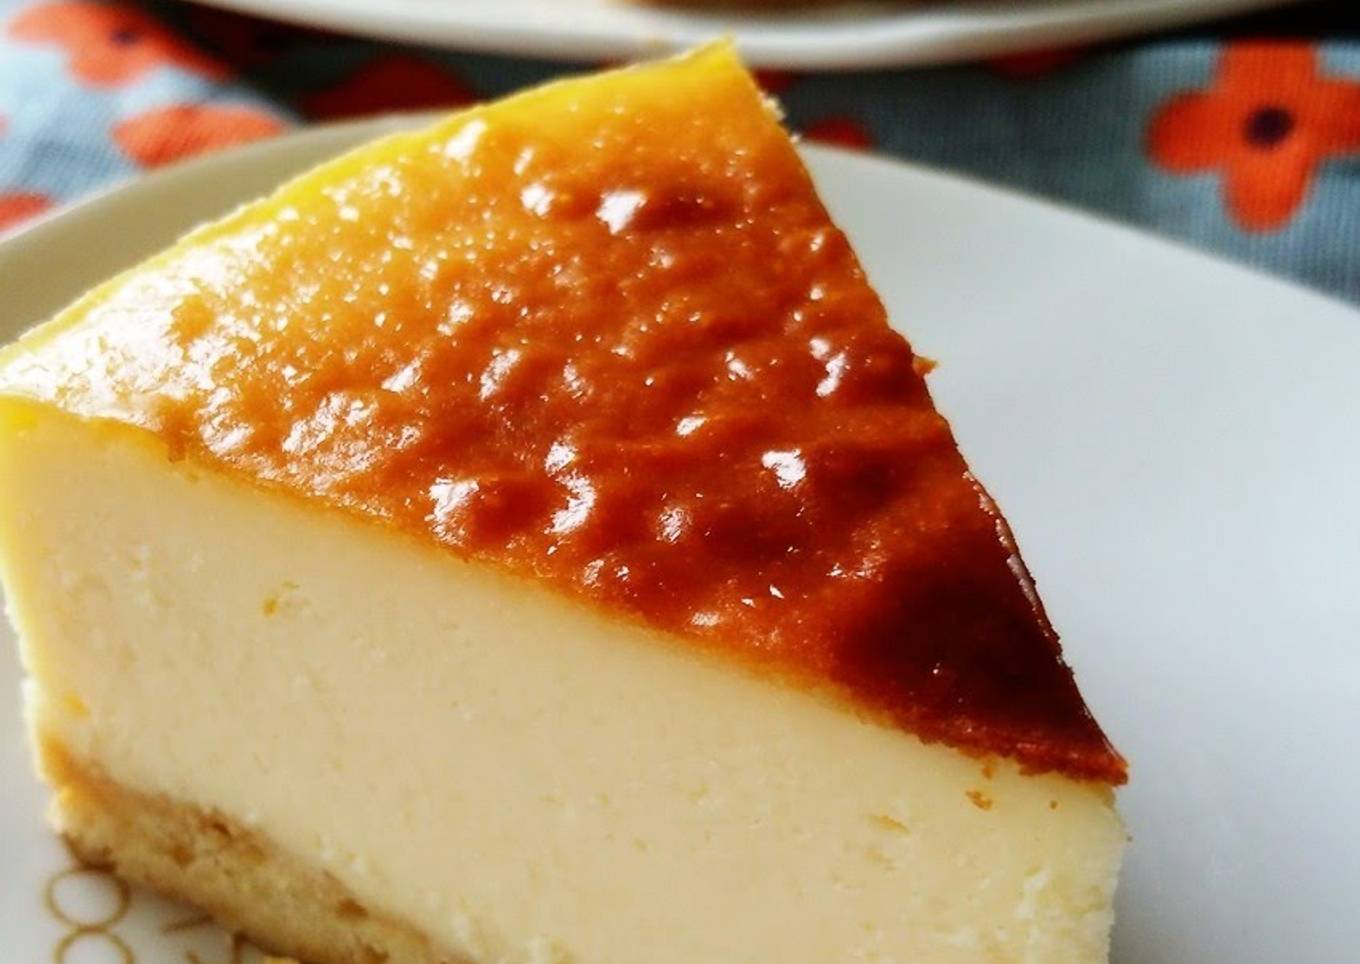
How to Prepare Award-winning Rich & Cheesy Baked Cheesecake
Hello everybody, it's me, Dave, welcome to our recipe page. Today, we're going to prepare a distinctive dish, Simple Way to Make Speedy Rich & Cheesy Baked Cheesecake. It is one of my favorites food recipes. For mine, I will make it a little bit unique. This is gonna smell and look delicious.
Let us face it, cooking isn't just a top priority in the lives of every man, woman, or child on the planet. In actuality, much too individuals have forced understanding how to cook a priority in their own lives. Which usually means that individuals frequently rely on foods and boxed blends instead of taking your time and time to prepare healthy food to our families and our personal enjoyment.
The same is true for lunches when we often resort to your can of soup or even box of macaroni and cheese or any other such product as opposed to putting our creative efforts into building an instant and easy yet delicious lunch. You may notice many thoughts in this article and the hope is that these ideas will not just get you off to a fantastic beginning for ending the lunch rut all of us look for ourselves in at some point or another but also to use new things all on your very own.
The good news is that as soon as you've learned the basics of cooking it is not likely you will ever have to relearn them. This means that you could constantly buildup and expand your cooking abilities. As you find new recipes and better your culinary abilities and talents you will discover that preparing your meals from scratch is far more rewarding than preparing prepackaged meals which can be purchased from the shelves of your local supermarkets.
Many things affect the quality of taste from Rich & Cheesy Baked Cheesecake, starting from the type of ingredients, then the selection of fresh ingredients, the ability to cut dishes to how to make and serve them. Don't worry if you want to prepare Rich & Cheesy Baked Cheesecake delicious at home, because if you already know the trick then this dish can be used as an extraordinary special treat.
As for the number of servings that can be served to make Rich & Cheesy Baked Cheesecake is 6 servings. So make sure this portion is enough to serve for yourself and your beloved family.
To get started with this particular recipe, we have to first prepare a few components. You can have Rich & Cheesy Baked Cheesecake using 14 ingredients and 21 steps. Here is how you cook it.
I just couldn't find the right combination to make a good cheesecake and tried over and over again.
This is delicious, so use high quality ingredients! Since it's such an easy recipe, the flavor depends on the quality of ingredients!
Go ahead and splurge on ingredients to make this for Father's Day.
Since all you have to do is gradually mix together the ingredients, anybody can easily make this without failing.
But, since the cream cheese makes up about half of the ingredients, the quality of the flavor is important. Recipe by Masashippo
Ingredients and spices that need to be Make ready to make Rich & Cheesy Baked Cheesecake:
- Base
- 70 grams Cake flour
- 30 grams Almond powder
- 1 pinch Salt
- 20 grams Raw cane sugar (or granulated or caster sugar)
- 30 grams Unsalted cultured butter (or regular unsalted butter)
- Cream Cheese Layer
- 450 grams Cream cheese
- 80 grams Granulated sugar
- 1 Egg
- 1 Egg yolk
- 15 grams Cornstarch
- 90 grams Sour cream
- 100 grams Heavy cream (45% fat content)
Instructions to make Rich & Cheesy Baked Cheesecake
- Preparation: Cut the butter into 8 mm cubes and chill in the freezer. Bring the cream cheese, sour cream, and egg to room temperature.

- Bake the crust base. Line the cake pan with parchment paper. If that's too much work, grease with a little butter or margarine.

- Combine and sift the flour and almond powder in a bowl. Add in the sugar and salt at the same time. Add the chilled butter and use a scraper to mix it in using cutting motions.

- Cut it in quickly until the butter becomes crumbly and the size of rice grains. This will take some time.

- Press the crust into the prepared cake pan and push it in tightly. Bake for 15 minutes at 180°C until golden brown.

- This is what it will look like when baked. Let it cool.

- Make the cream cheese mixture. Whisk the cream cheese until smooth. If the cream cheese is still hard, warm it up in short increments in the microwave.

- Add granulated sugar to Step 7 and mix well. Wipe off any excess batter that is stuck to the whisk and stir in.

- In a separate bowl, beat the egg and egg yolk without foam up. Add the sifted cornstarch and mix well. It's okay if there are some lumps left!

- Soften the sour cream a little bit in the microwave and add to Step 9. Mix well and then add the heavy cream. Combine well.

- Preheat the oven to 180°C. Boil the water for the water bath. Add Step 10 to Step 8 little by little and combine well, then strain 2-3 times through a strainer.

- Pour the mixture from Step 11 into the baked crust and lightly shake to even out the surface. Pop the larger air bubbles with a toothpick.

- Place Step 12 on the baking tray and pour in the boiling water about 2cm high. Place into the oven. Lower the temperature to 160°C and bake for 50-60 minutes.
- Once it has browned, turn off the oven and leave for 1 hour without opening the oven door. Let it gradually cook through the center in residual heat.

- After an hour, remove the cake from the oven and let it cool. Once cooled, place your hand the surface and flip it over to remove from the cake pan.
- Place the cheesecake onto a plate without removing the bottom sheet of parchment paper. Peel the paper from the sides.
- Cover the cheesecake with 2 layers of paper towels and then cover with plastic wrap. Place it (including the plate) into a Ziploc or plastic bag and let it chill in the refrigerator for 1 day.

- After it has sat for 1 day, the flavors will have blended and settled. The flavor will also become richer, so letting it sit is a must! It will taste even better the next day.
- After it has sat for 1 day, use a warmed knife to slice it and enjoy. Wrap up the uneaten slices, place into a Ziploc bag and place in the freezer.

- It will keep in the refrigerator for 3-4 days. If you place slices in the freezer, thaw naturally before serving. Put in the refrigerator to thaw during the summer!

- For an easy base: place the biscuits in a plastic baggie and crush. Combine with the melted butter thoroughly. Press into the cake pan and let it chill to harden.

It's those small actions that you take towards your objective of cooking healthy foods for your family that may matter a lot more than any leap. Before you realize it you will realize that you have greater energy and a better sense of general wellbeing than you would have imagined before changing up your eating customs. If this is not enough to encourage you however, you could check out the excuse to go shopping for new clothes once you lose a size or 2.
So that's going to wrap this up for this exceptional food Steps to Prepare Homemade Rich & Cheesy Baked Cheesecake. Thank you very much for your time. I am sure that you will make this at home. There is gonna be more interesting food in home recipes coming up. Don't forget to save this page in your browser, and share it to your loved ones, colleague and friends. Thanks again for reading. Go on get cooking!